At least half of all "broken opener" service calls we respond to turn out to be something the homeowner could have fixed themselves in under 10 minutes, for free. Run through this checklist before booking anyone.
Check These 7 Things First
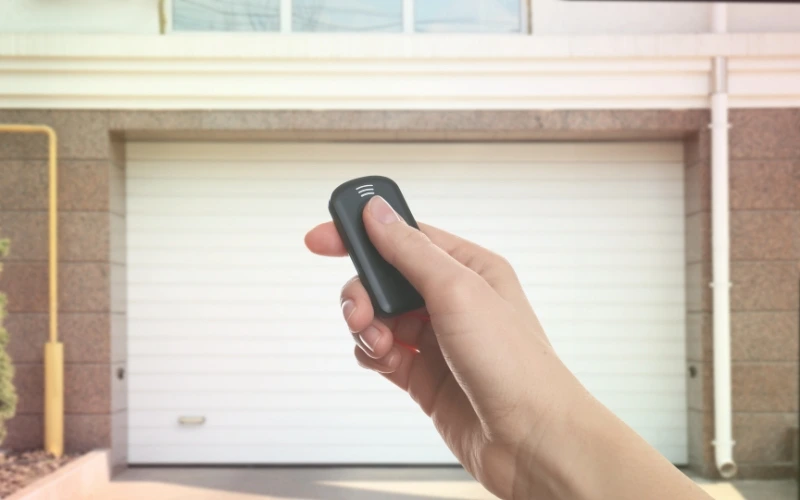
- Remote battery — This accounts for 20% of all "broken opener" calls. Replace both batteries even if the remote works intermittently. A partially depleted battery may trigger the remote at close range but fail from across the garage. Always swap in fresh alkaline batteries before assuming anything else is wrong.
- Wall button — Press the hardwired wall button inside the garage. If the wall button works but your remote doesn't, the problem is isolated to the remote or its programming — not the opener itself. If neither the wall button nor the remote works, that points to a power or mechanical issue and you need to move on to the next checks.
- Power outlet — Openers plug into a ceiling outlet that can trip a GFCI breaker, especially in damp Boston garages during wet season or after heavy rain. Look up at the outlet above the opener unit. If it has a small reset button (GFCI outlets do), press it firmly. Then try the opener again. Also check your home's main breaker panel for a tripped circuit.
- Disconnect cord — There's a red rope hanging from the opener's rail carriage — it's the emergency disconnect. If someone pulled it (kids playing, movers repositioning the door), the opener is now mechanically disconnected from the door and will run without moving anything. To re-engage: pull the red cord toward the door (not away from it) until you hear a click, then try opening with the wall button.
- Photo eye sensors — Two small sensors sit 4–6 inches off the ground on either side of the door opening. They project an invisible beam between them. If that beam is broken — by a cobweb, a leaf, a misaligned lens, or one sensor being bumped — the door will refuse to close and may reverse mid-travel. Clean both lenses with a dry cloth, check that both units are aimed directly at each other, and look for any debris blocking the beam path.
- Travel limit settings — If your door reverses before it fully closes, or stops short of fully opening, the travel limits need adjustment. Most openers have a travel limit knob on the back or side of the motor unit — one for "down" and one for "up." Small incremental adjustments (a quarter turn at a time) are all it takes. No tools needed on most models.
- Force settings — In cold Boston winters, a door with stiff hinges, thick grease, or a weather seal frozen to the ground can exceed the opener's programmed force limit, causing the motor to stop and reverse as a safety measure. Slightly increasing the force setting (again, a knob on the motor unit) can resolve this — but don't increase it dramatically, as the force limit is also a safety feature that prevents the door from crushing objects.
When Not to DIY
Never attempt to adjust, repair, or replace torsion springs yourself. They are under enormous tension — a single residential torsion spring stores enough energy to cause severe, life-altering injury if it releases unexpectedly. The same applies to lift cables, which are connected to those springs and carry similar risk.
Springs and cables are the one garage door category that always requires a professional with proper tools and training. Everything else on this list is genuinely safe for a homeowner to check. Springs and cables are not.